Dutch Oven Monkey Bread with Candy Cap Caramel
This post covers a couple of our favorite hobbies in one. Foraging for wild mushrooms and cooking outdoors with our Dutch ovens. This particular recipe is a new favorite to prepare at camp while we are at a destination foray to look for more wild mushrooms! I've always taken camp food seriously, but lately I don't want a ton of prep to do in camp, so I do most of the prep at home, leaving more time for relaxing after a day of hiking and foraging.

 |
| Ooey gooey pull-apart cinnamon yumminess to be enjoyed in the great outdoors |
Dutch Ovens
First, lets talk a little about Dutch ovens. There are a few different styles newcomers should be aware of. Many people think of Le Creuset enamel cast iron cookware when they think of Dutch ovens. They are a wonderful (albeit luxurious) addition to any kitchen. A 5 1/2 quart one like the picture will set you back about $320. Wonderful for a number of slow-cooked preparations in the kitchen, but not what this recipe is about. |
| A wonderful piece of kitchen equipment, but not suited for cooking outdoors with hot coals |
Growing up in small farm town USA, I only knew of one kind of Dutch oven. The kind you use outdoors to cook things with charcoal. My family has been cooking this way for generations, probably all the way back to the pioneers. Notice the shape of the lid and the legs. Those two features are key to getting all you can out of this style of cooking, especially if cooking for a crowd. You can stack multiples on top of each other along with your hot coals and use a smaller prep footprint for quite a large number of servings. The Lodge oven pictured below is an 8 quart shallow and will cost around $68. I had an uncle that would have them stacked 4-5 deep and cook a huge dinner for around 100 people every 4th of July in his back yard. He would have 3-4 stacks going at once, cooking enough chicken, potatoes and cobbler to feed everyone. A great meal and the best place to watch the fireworks that were set off every year at the nearby fair grounds.
 |
| Notice the legs and the concave lid with a ridge. |
As soon as I saw the idea online, I loved the idea of doing Monkey Bread in the Dutch oven. I could see us snacking on it over the following couple of days, and that's exactly how it worked out. It holds very well stored in a rigid ziplock container and is a great quick snack for extra energy when a lot of calories are being burned. Many convenience camp recipes will call for using the canned biscuits for the dough, but if you know me, you know I'm going to have a big problem with many of the ingredients listed on the can, so this version uses homemade sweet dough prepared at home ahead of time. I also make the Candy Cap caramel sauce at home and pre-measure the cinnamon sugar so the only thing to do is melt the butter, roll the dough, put it together and bake. It comes out like sticky buns with pecans, and of course the pecans are optional.
Candy Cap Mushrooms (Lactarius rubidus)
I've been cooking with wild mushrooms for the last 25 years. Growing up, all I ever had been exposed to were canned button mushrooms and I thought they were awful (yeah, still do). As far as I knew I didn't like mushrooms at all. Later I had my first fresh button mushroom and couldn't believe they were the same thing. Fast forward to tasting my first wild mushroom and a whole different world opened up to me. This wonderful world of wild mushrooms keeps giving me new ones to try, teaching me how little I really know about how many different kinds there are. I love a hobby like that! One of my new-to-me-favorites is the Candy Cap mushroom. I had no idea mushrooms could be used in sweet preparations - blew my mind the first time I heard of them. They are quite smallish somewhere between quarter and half dollar size. When they are dried, they exude the aroma of excellent quality maple. The first thing I ever made with them was a crème brûlée. I get giddy now just thinking about that wonderful creamy mapley custard with the crisp caramelized sugar top... But before I get too carried away, let's just say Candy Cap Mushrooms are the bomb and they go perfectly in the caramel sauce used in this recipe.
*You can order Candy Cap mushrooms online by clicking here. That website has a pretty good price. A couple of things to note: 1) Less is usually more when it comes to using Candy Cap mushrooms - that is to say that a little goes a long, long way. If you use too many they can become bitter and ruin the whole recipe. 2) With that in mind, an ounce is a LOT of mushrooms and they will keep indefinitely. I absolutely love to open the drawer I keep them in, every time I open it, the sweet warm mapley aroma drifts up and makes me smile. I kid you not.
I was thrilled to find out, they grow in the Doug firs right alongside the Chanterelle mushrooms we love to hunt around here in fall!!! They closely resemble many others in the same family and the ID process is still a work in progress for me. I came really close last year (alas, only close look-alike cousins), but still haven't found my own so far. Luckily I have amazing mushroom friends that are willing to barter. If that runs out, I will buy them online. I don't want to be without them ever again - I love them that much. Hopefully, I'll be posting pictures of my own finds in the fall.
*note* If you absolutely can't get the Candy Cap mushrooms, you could leave them out of the caramel sauce, but that would be sad.
Recipe
Ingredients
For the sweet dough:
·
1 package (2 and 1/4 teaspoons) dry yeast
·
1/4
cup warm water - not too hot
·
1
and 1/4 cups warm 2% or whole milk - not too hot
·
1/3
cup unsalted butter, melted
·
1/4
cup granulated organic cane sugar
·
2
large eggs
·
1
teaspoon salt
·
5
cups all purpose flour
For the Candy Cap caramel sauce:
·
1/2
cup (1 stick) unsalted butter
·
1
cup packed dark brown sugar
·
3
Tablespoons heavy cream (no substitutions)
·
3-4
Candy Cap mushrooms - minced fine
For the cinnamon sugar coating:
·
1/2
cup (1 stick) unsalted butter, melted
·
2
cups sugar
·
3
Tablespoons ground cinnamon
3/4
cup chopped pecans (optional)
Procedure - Prep at home
For the sweet dough - I do this the day before we leave. It needs 8-12 hours minimum in the refrigerator, after which I put it in a gallon ziplock bag to pack into the ice chest.
Combine the yeast and warm water together in the bowl of a stand mixer. Mix with a fork and allow to rest for about 15 minutes. The mixture will start to look frothy. Add all the rest of the ingredients for the dough except only half the flour (2 1/2 cups). Mix with the dough hook until all is well incorporated. Scrape the sides with a rubber spatula a couple of times while it's coming together. Add the remaining flour a little at a time until the dough stops sticking to the bottom and sides. *note* In very humid climates a little more flour may be needed to achieve this. Knead with the mixer for about 6 minutes, until dough is very smooth and elastic. Form it into a large ball and remove to a large bowl that has been oiled. Roll it around so the dough is also oiled. Cover with plastic wrap and refrigerate overnight, or until you are packing your ice chest . When you are packing up, punch any air out of the dough and store in a gallon ziplock in the ice chest until you are ready to assemble the bread in camp.
For the Candy Cap caramel sauce - I also do this the day before we leave and transfer it to a food saver boil-in bag when it has cooled enough. This way I can securely seal it for transport, and all I have to do is snip a corner and squeeze it onto the dough balls when I'm assembling the bread.
 |
| I'll snip off the corner that I'm holding with scissors and squeeze it easily over my preparation. |
Melt the stick of butter in a large saucepan and add the brown sugar, cream and Candy Caps. Stir over medium heat, only until the sugar has dissolved - a which point you want to STOP STIRRING to avoid crystallizing the sauce. Use a pastry brush dipped in hot water to rinse any crystals down into the syrup around the inside of the pan. Continuing to cook over medium heat, without stirring and bring to a boil. Boil for 3 minutes only! *Keep in mind, it will cook more when the bread is assembled and baking in the Dutch oven, so if you take it too far at this point, it will become hardened. Set aside and allow to cool until just warm, at which point I like to transfer to a food saver boil-in bag and seal it. This way it can get packed safely in with the room temp. dry goods along with the cinnamon sugar and pecan pieces. If it is made more than a day ahead, it can be refrigerated and warmed right in the bag in a sauce pan of water at camp to make it more liquid again when it is time to prepare the bread.
For the Cinnamon Sugar
I measure the sugar and cinnamon directly into a gallon ziplock and mix it together right in the bag. This bag gets packed in our dry goods box. The stick of butter goes in the ice chest until it is time to prepare the bread
Procedure - Prep at camp
Line a deep (deep is preferable but not necessary) Dutch oven with foil and spray with cooking spray. *I try to avoid canola oil for various reasons, and olive oil might taste odd with this recipe, so I use coconut oil cooking spray I buy at Trader Joe's. Great product.
Melt the stick of butter in a large saucepan on your gas camp stove (or over the fire). Granted, it will fit in a smaller saucepan, but I like the wider surface area to be able to coat several dough balls at a time and make the process go by faster.
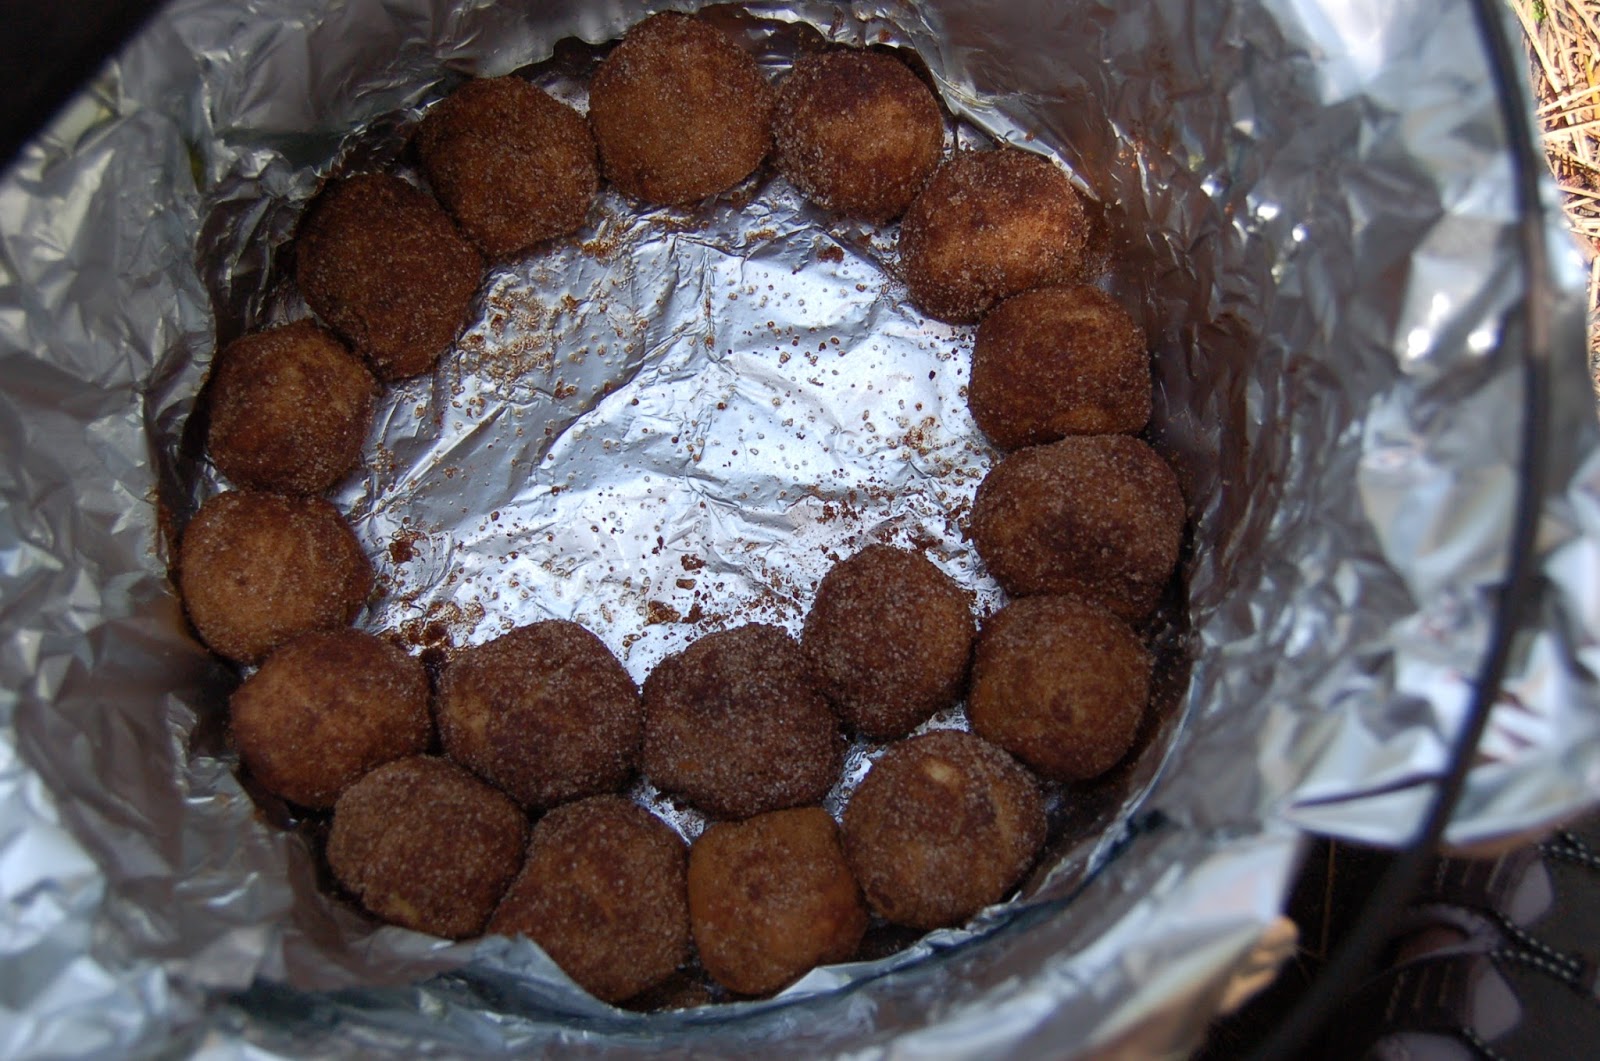
Roll the chilled dough into balls a little bigger than 1" in diameter. Roll in the melted butter in the saucepan and then roll several at a time in the cinnamon sugar mixture to coat evenly. Arrange next to each other in the bottom of the prepared Dutch oven. When you have rolled, coated and arranged about half the dough, sprinkle evenly with half the pecan pieces. Roll the rest of the dough balls and sprinkle with the remaining pecan pieces. Snip one corner off the prepared caramel sauce a squeeze evenly over the prepared dough balls.
 |
| Rolled, dipped in butter, coated with cinnamon sugar, topped with nuts and caramel sauce. Ready to cover and rise. |
Cover with the lid and allow to rise in a warm place (I find a patch of sunshine if available) until double in size. It will take between 30 minutes to 1 hour depending on how warm the day is and how quickly you got the dough rolled.
While the dough is rising, prepare your coals. 10 briquettes on the bottom and 20 on top will keep the Dutch oven at about 350 degrees Fahrenheit. Keep rotating the Dutch oven by spinning it 1/4 to 1/2 turn every 10 minutes or so to be sure of even heat distribution. Resist the temptation to lift the lid and look too soon, so you don't let all the heat out of the oven. Check it after about 30 minutes. It will be done when it is golden brown.
 |
| Hot coals are distributed evenly over the top of the oven. |
 |
| Golden brown, cooled slightly and ready to flip |
When it is golden brown and baked, remove from the coals, remove the lid and set aside. Allow it to cool for about 10-15 minutes. Holding the foil, use it to remove and invert (turn it upside-down) onto a large cutting board that has been covered with foil and sprayed with oil. A sheet pan will work for this too. The foil that lined the oven is now covering the monkey bread. Carefully remove the foil and feel free to dig in as soon as it has cooled enough not to burn fingers! It is meant to pull apart as you go. Store any remaining bread in an airtight container out of the reach of squirrels, raccoons and bears, and enjoy again with coffee in the morning for a quick breakfast!


Comments
Post a Comment